Hi there! And welcome to Craft Goodies. I'm thrilled that you've stopped by and hope you find something here that makes your visit a great one...
Monday, June 6, 2011
Wood You Like To Craft? June 2011 Star Lantern Tutorial!!!
Happy June!
I've been waiting four long months to get my turn to host a WYLTC event and it's finally here!!!
I'm SOOOOO excited.
If you still haven't caught the bug yet, here's the quick run-down.
Wood You Like to Craft is an on-line craft group hosted by four super-awesome-wood-loving bloggers-
(okay, really there's five of us but only four blogs)
you'll get to meet the rest of them throughout the week.
Each month one blogger designs an inspiration project and the other four knock it off adding their own personal take to the project. We share them, hoping to get your creative juices flowing, and then invite you to do the same! Knock off the original project and then share it with us through the WYLTC linky party held at the end of the reveal week.
(We even give a prize to our favorite one)
Make sense? Great, cause here we go...
Wood Star Lantern
This project was so much fun to make, and if you're a newbie to the power saw world, this is a great piece to practice your skills on. (Simple straight cuts and easy corners!) If you're not a saw girl yet, you can still make this project as most hobby and craft stores carry similar supplies.
I also made it in two different sizes, a large version that stands 18 inches tall and a smaller one that
is 15 inches tall.
The tutorial is the same for both and measurements are given for both but the KIT that is available for purchase is of the smaller sized lantern.
Here's the good old supply list to make your own:
1/2 inch MDF to cut the 4 stars and the lid/base squares
one 8.5 x 8.5 inch square lid and one 6 x 6 square top
SMALL LANTERN MEASUREMENTS:
one 8.5 x 8.5 inch square base, one 7.5 x 7.5 inch square lid and one 5.5 x 5.5 inch square top
2x10 pine board squared to 9.5 x 9.5 for the base piece of the large lantern only
*check the scrap wood bin as you only need a small piece or use 1/2 inch MDF
4 one-inch blocks for the lid-I actually stole these from my kids toy blocks because it was late and the store was closed. (bad mom, I know)
You could use a 1 inch dowel cut to 1 inch pieces or a 2x2 cut to square blocks
Dollar store Oil Warmer for the handle, black craft wire to link the stars, and a clasp and hinge to open and close the lid.
***PLEASE NOTE THAT I PAINTED THE HINGES AND CLASPS BLACK TO MATCH THE LANTERN WIRE AND HANDLE PIECE, THEY DON'T COME THAT WAY. JUST GOOD OLD BLACK SPRAY PAINT WORKED GREAT!!!
And a few basics like paint, stain, sand paper, wood glue, hammer and nails, wire cutters/pliers, drill, and a screw driver.
Get started by cutting your stars, base, and all lid pieces.
I used a scroll saw on the stars and a miter saw for the square pieces, a jigsaw would also work well for this project.
*You might notice the large hole in the bottom lid piece-totally unnecessary, not sure what I was thinking there but you don't need it a solid piece works just fine!
Stack up the stars and drill a hole large enough for your wire to slip through in the far right and far left point of the stars.
From there give everything a pretty coat of paint. Be sure to paint both front and back, as well as the sides cause you can see them!
*I used Krylon spray paints in Banner Red, Global Blue, and Almond.*
{I always sand off the paint on my edges so unless the wood is really rough, I don't sand until after I've painted, why do it twice, right?}
Sand or "distress" your edges and then top off everything with a layer of stain.
Minwax in dark walnut for me...
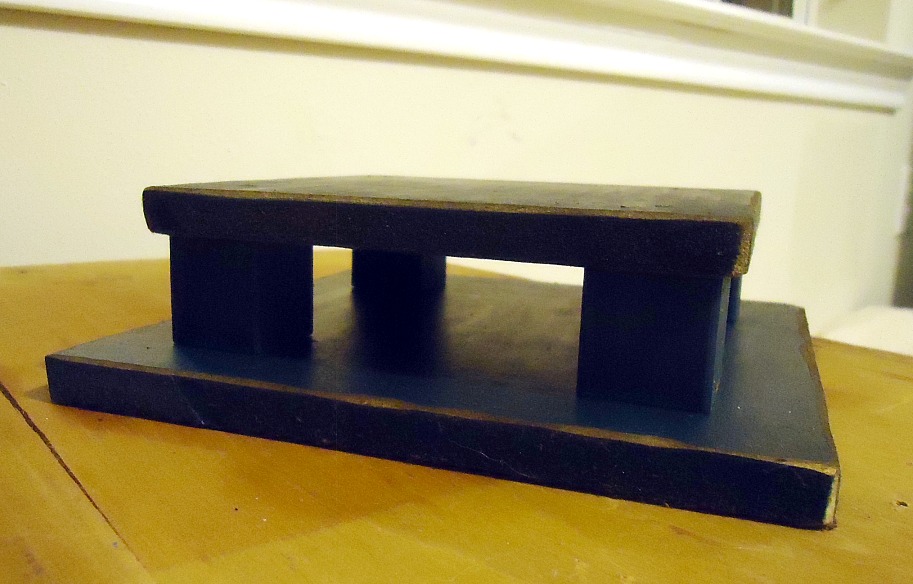
Once everything is good and dry assemble the lid piece.
Add a dab of wood glue (I like the Gorilla Glue brand) to the top of each of the four small blocks and then place one block in each corner of the smallest lid piece. Once it's dry, turn the piece over and run a nail into each block.
Add a dab of glue to the bottom of the square blocks and then center that piece onto the large lid square. Carefully flip the entire piece over and run a nail into the blocks from that side as well.
Add the handle next.
The oil warmer comes like this...
Carefully rock the tea light holder back and forth until it pops off leaving you with just the oil cup and the base. Use your pliers to help pry off the circle rim.
Run a bead of glue around the edge of the oil cup and then place it onto the center of the lid piece. Once it's dry, add a few nails to keep it secure. Set the lid piece aside.
Wire the four stars together next. I used 16 gauge craft wire on the large lantern and 20 gauge wire on the smaller one.
Cut a fairly long piece of wire, about 10 inches, thread it through the pre-drilled holes, bring it back to the front and give it a few twists.
Be sure it's not to tight or the stars won't bend around the base.
Curl the excess tails of the wire around a pencil. Use the pliers to help.
Once you've got all 4 stars wired together, set them on top of the base piece. Shift them around until they are centered on the base and then glue the stars onto the base piece.
*I actually used my hot glue gun here, I just needed them to sit in place so I could get a nail into them and well...I'm not a patient crafter!
Drill a small pilot hole into the base of each star corner that touches the lantern base and then nail the stars into the base. Be sure to add the pilot holes or you might split your MDF.
Whew! The hard stuff is over-only two more steps and you're there.
Center the lid piece onto the stars and add the hinge piece.
Turn the lantern so you're looking at the opposite side of the hinge and add the clasp or locking piece and...
WAHOO!!!
You're done, just add a candle, small plant, or festive holiday somethin'somethin' and enjoy it!
Also, remember kits for this project are available HERE if you can't cut or find your own supplies. And please, if you have questions, need clarification, or ideas on substitutions just email me.
So Cute! I found your blog through a linky party and LOVE it! I am your newest follower and would love it if you would check out my blog and follow me too! Thanks!
Come and link up your latest and greatest at our What I Made Wednesday Linky Party!
I love this! your featured on The Glitter Friday Spotlight! http://runwithglitter.blogspot.com/2011/06/friday-spotlight-june-10th.html Thank you for Joining the Tuesday link party!
This is amazing! I'd love to attempt this but I have a feeling I'd screw it up. hahaha. Anyway, I'm featuring this on my blog tomorrow! Thanks for sharing :) -Maggie http://chicaesartistica.blogspot.com/
I am having a Red, White and Blue Linky Party and would love for you to stop by and join in! http://www.itsybitsypaperblog.com/2011/07/red-white-and-blue-linky-party.html


15 comments:
This is an awsome lantern! So many different medias! Totally exciting!
So Cute! I found your blog through a linky party and LOVE it! I am your newest follower and would love it if you would check out my blog and follow me too! Thanks!
Come and link up your latest and greatest at our What I Made Wednesday Linky Party!
~Alisa
sweetpeasandbb.blogspot.com
Like I said before, Love it! Your tutorial is great! I could have used some of your tips on mine! So excited for this week! You rock!
super cute and love the stars for many holidays as well come visit me at http://shopannies.blogspot.com
this is amazing. i havn't tried using a power saw, but this would encourage me to try.
I say GO FOR IT!!! Power saws are only scarey in name. They're kind of like chocolate, once you try it, it's really hard to give up!
Good luck-
Wendy
Super cute. Love the stars. What a fun project.
wow! that looks so great! looks like its store bought :)
found you over at blue cricket, you should stop by for a visit sometime :)
jackie
http://jaclyndesigns.blogspot.com/
As always, this is amazing! LOVE IT!!!! I will be featuring it tomorrow at somedaycrafts.blogspot.com.
Love this! I'll be featuring it today.
I love this! your featured on The Glitter Friday Spotlight! http://runwithglitter.blogspot.com/2011/06/friday-spotlight-june-10th.html
Thank you for Joining the Tuesday link party!
Great tutorial! :) I've featured this post on Craft Gossip here:
http://homeandgarden.craftgossip.com/wooden-star-lantern/
If you would like a "featured by" button, you can grab one here:
http://homeandgarden.craftgossip.com/grab-a-craft-gossip-button/
This is amazing! I'd love to attempt this but I have a feeling I'd screw it up. hahaha. Anyway, I'm featuring this on my blog tomorrow! Thanks for sharing :)
-Maggie
http://chicaesartistica.blogspot.com/
that is so cute! it would be great on my table outside for 4th of july! awesome idea!
Oh my goodness this looks awesome!
I am having a Red, White and Blue Linky Party and would love for you to stop by and join in!
http://www.itsybitsypaperblog.com/2011/07/red-white-and-blue-linky-party.html
Post a Comment