


Hi there! My name is Lindsay and I blog over at Jelly Beans -n- Crafty Things. I am a new mom to a beautiful 10 month old baby girl and a wife of 3 years. I am new to this part of the blogging process but I am loving it and I am very excited to be guest blogging here today! Craft Goodies is one of the first few blogs that got me addicted to craft blogging and I love to see what Wendy is going to post next!
I don't know about you, but our mail always seems to pool somewhere in the kitchen. Usually the counter, or the kitchen table. And when company comes over, it gets shoved somewhere and usually thrown away at a later date....a much later date! Then you can't find the bill you were supposed to pay or the RSVP you were supposed to send in and .... Its a vicious cycle!

But I am here to help you! Today I'm going to show you how I made my mail organizer and how you can make your own!
You'll Need:
2 yards of fabric - Main fabric and lining
Matching Thread
Sharp tipped scissors
Ruler
Rotary cutter (scissors are fine too)
Cutting mat
Grommets (Whatever size you like)
Hammer
Cut your fabric to these dimensions:
15 1/2" x 15 1/2" - cut 1 of each material
4 1/2" x 15 1/2" - cut 2 of each
6 1/2" x 15 1/2 - cut 1 of each
3 1/2" x 2 1/2" - cut 1 of each

This is what it will look like all laid out. The final product will be 15 x 15

Starting with the top pocket, place fabric RIGHT sides together, and stitch along one side with a 1/2" seam allowance. Don't forget to back stitch at the beginning and end!

Press seam completely open.

Now fold your material right sides facing out and press. This will give you a crisp edge.
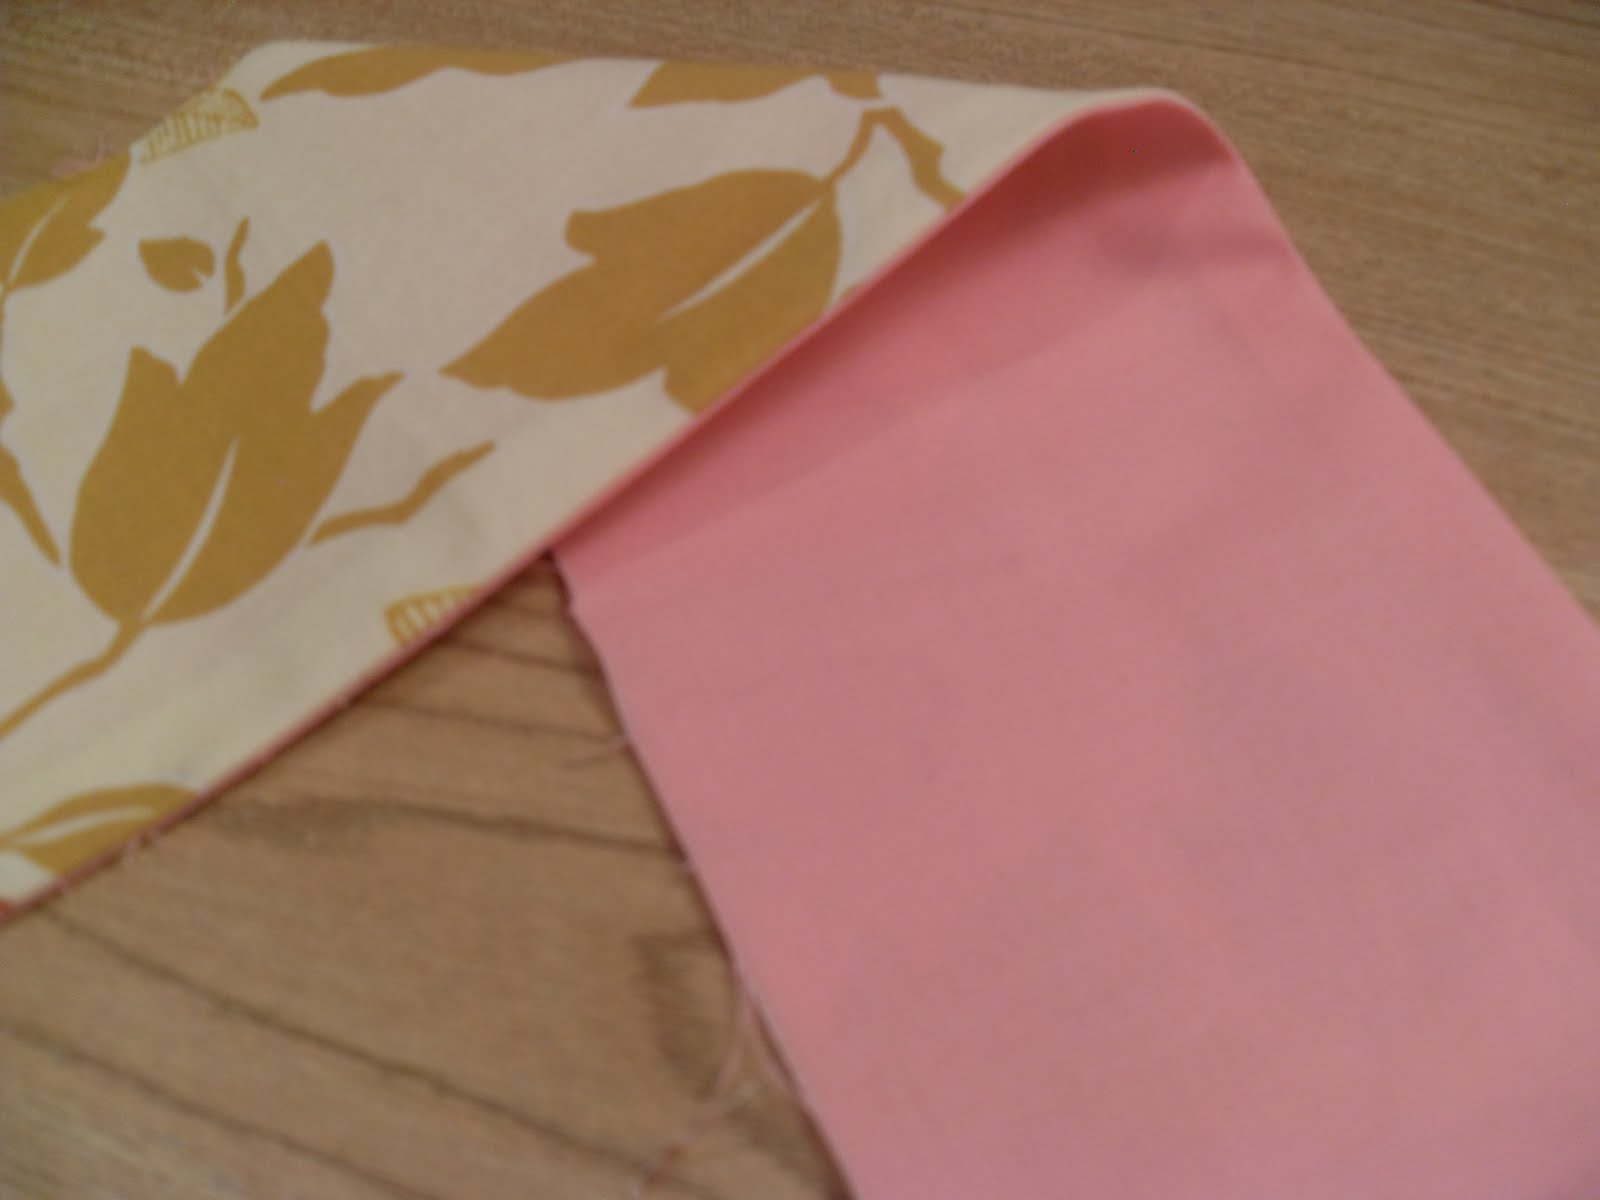
Stitch across the top with a 1/4" seam allowance. This will be the top of your pocket.

Repeat with remaining 2 pockets.

Now take your 3 1/2" x 2 1/2" piece and sew right sides together around the edge leaving a 1" opening for turning.

Clip corners...be careful not to cut your stitching.

Turn your pocket right side out and use a chopstick to push out the corners. Fold your opening inside and pin. Sew completely around the edge of your piece with 1/8" seam allowance.

Now we're going to measure for the placing of our small pocket and also mark where our other pockets will be. Measure in from the left 9 1/4" and make a mark at both top and bottom.

Then measure in another 4 1/2" and make a mark on both top and bottom. (You can change these measurements if you want different size pockets.)
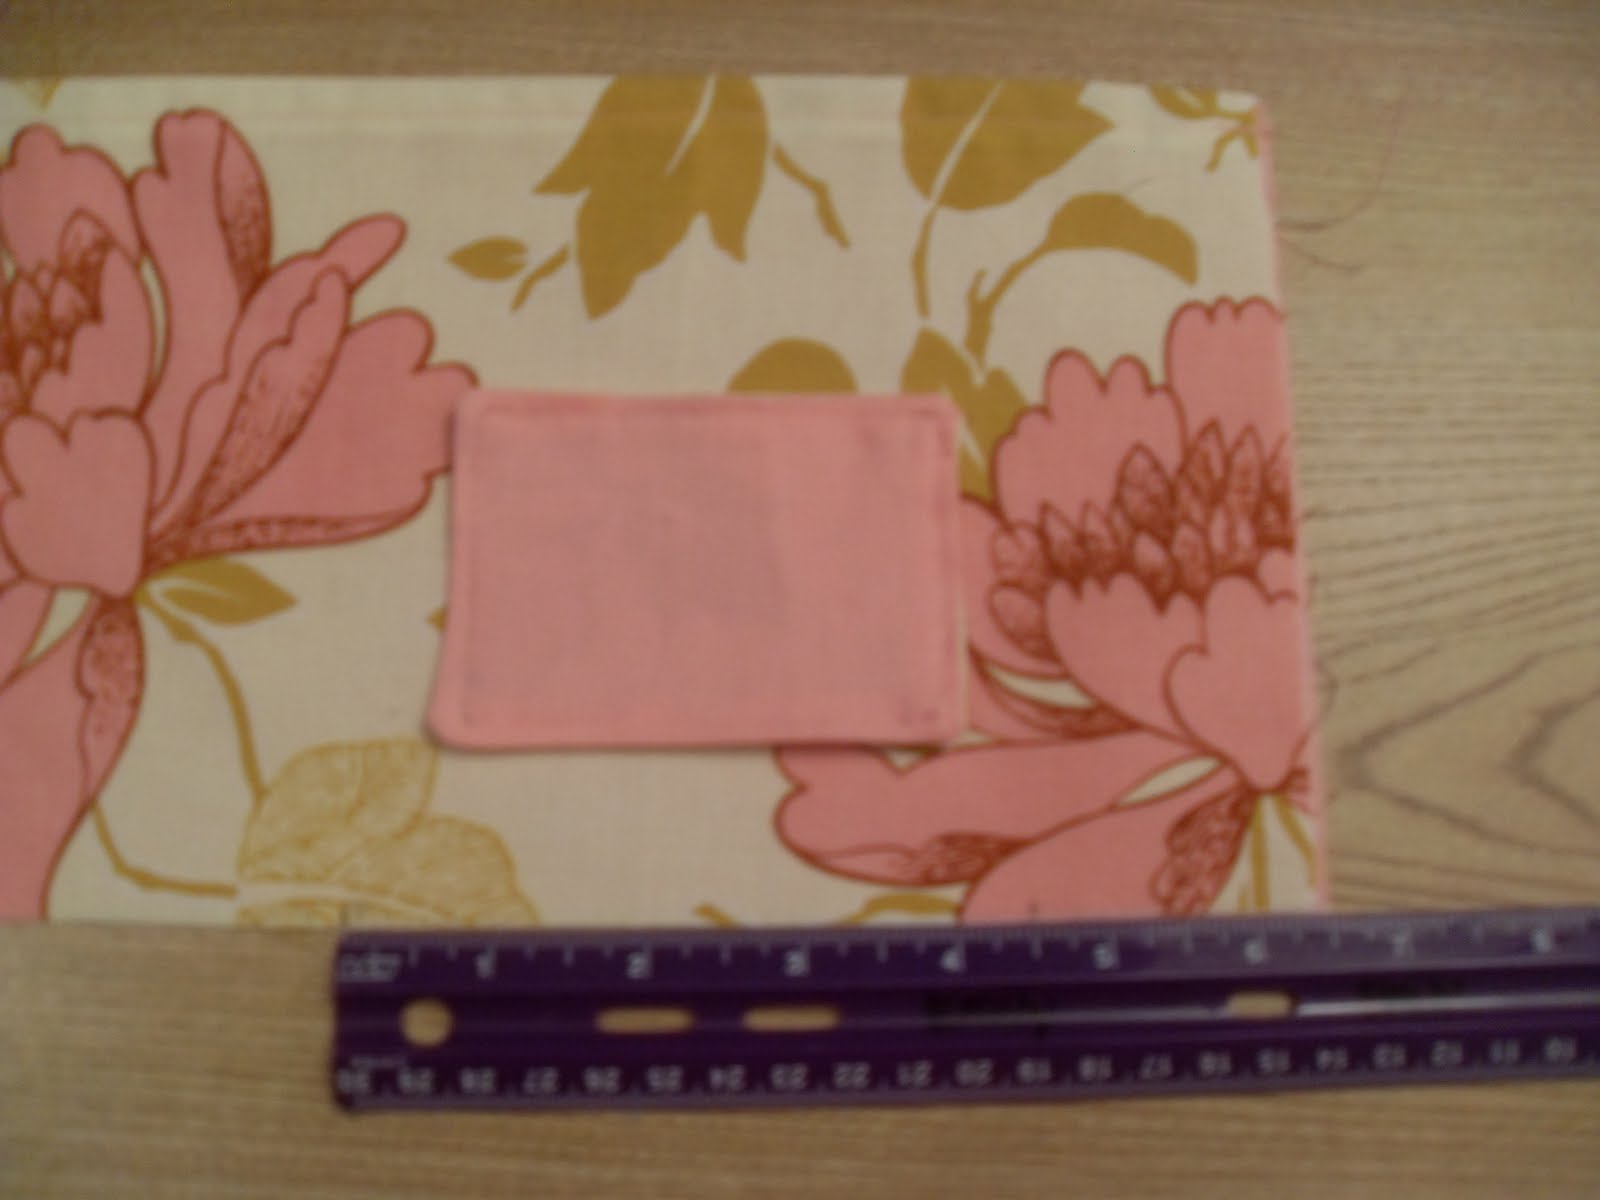
Using your ruler, make a faint line from top to bottom from each mark. Then measure 1" up and 1/2" from each side. This is where your small pocket will sit. Stitch in the ditch (on your previous stitch) on the left side, bottom, and right side of your small pocket to attach to the big pocket.

Now we're going to attach our pockets. Take your front 15 1/2" x 15 1/2" piece and measure down 2" from each top corner. Lay your top pocket on these marks and pin down.

Sew the bottom of the pocket down 1/4" up.

Lay the top of the next pocket on the line you just stitched. Pin and stitch bottom. Repeat with last pocket.

The tops of your pockets will not be attached at this point, but we will fix that later.
Keep the top of your bottom pocket pinned.

Going from top to bottom, stitch the lines we drew earlier. We made 3 pockets out of our big pocket on the bottom!

Now take your backing fabric and lay face down on your pocket piece. So it will all be right sides together. Make sure your pockets are all flat! Its not a bad idea to press one more time before this step.

Go pin crazy here. Pin all the way around your organizer making sure to pin each pocket edge down well.
Stitch completely around the edge with a 1/4" seam allowance, leaving a 3-4" opening to turn.

Clip corners and turn right side out. Push corners out with chopstick.
Fold the edges of your opening in and press.
Stitch 1/4" around the edge of your organizer.
This helps give a more finished look as well as sew up your opening.

Now on to hanging!
There are 2 different tools you can use for your grommets. I like to use the tool that comes with the grommets for the pinching, but the other tool works too and is great for punching the hole.

Decide where you would like your grommets to be. I placed mine 3/4" in from the top and the side.
Make a small mark directly in the center of your grommet.

Using your punch (or your scissors) cut a small hole around your mark. The hole should be about the diameter of a pencil.

You may need to use your scissors to finish off the hole completely.

Push the grommet through the hole you just made. It will be tight.

Place the grommet back on the back side of your organizer with the sharp teeth pointing down.

Place your tool on your grommet. My husband pounded these in for me.
Make sure you don't pound them in too much or it will warp the grommet.

Flip it over and there you have it!

The tiny pocket is perfect size for an envelope of stamps!
I am using the top pocket for bills to be paid, the next is for other mail that needs action, like a phone call.
My address book is a little big but it fits in the left pocket and the other 2 pockets are perfect side for a notebook and some pens! Or whatever you would like to make them as!

Last step is to hang up on the wall and Enjoy!

I hope you enjoy making your own mail organizer!
Come over and visit my blog any time! I'd love to have you!
Thank you so much Wendy for letting me share!


1 comment:
Just a quick note to let you know that a link to this post will be placed on CraftCrave today [01 Jun 10:15am GMT]. Thanks, Maria
Post a Comment