Hi there! And welcome to Craft Goodies. I'm thrilled that you've stopped by and hope you find something here that makes your visit a great one...
Showing posts with label hand stitching. Show all posts

Thursday, February 3, 2011

Threads & Thrills Thursday...kids art and a borrowed tutorial!

So power outages and blogging don't really go together so well!
Can mother nature just not understand that I have a schedule to keep, and go a bit stir crazy without access to my computer? I mean really!
 
In all actuality, I'm elated to have not only power, but HEAT again. It was a long, cold, scratch that- FREEZING day yesterday!
{ 9 degrees- in SOUTH TEXAS?}
 
Okay, I'm done and moving on to much warmer things, like talk of irons!
 
I mentioned on Wednesday that I had challenged myself to bring color into my house. This is an extension of that challenge. My girls rooms are also very white-walled and in need of decor.
I want to add a photo frame collage onto the main wall of my 7 yr old's room, but wasn't sure how to fill the frames until she brought me a few of her drawings.
She has plans to be an astronaut and own her own spaceship when she's older. This is what it's going to look like...
 
 
This is very important to her and so I wanted a way to make sure the picture lasted for as long as possible.
I had her color the picture with regular crayons and then I ironed the image onto a piece of cotton muslin.
 
 The image transfers easily onto the fabric and leaves a reverse print of the original picture.
I then backed the fabric with a thin piece of felt and using black embroidery floss, back stitched around the entire image, being sure to follow her lines and details.
 
 
The result is a permanent work of her art that we framed and will add to her room.
She loves it, and it so proud that her picture is on the wall. I love that I don't have to hang on to every piece of paper that she colors on.
And here's the sappy mommy moment:
when my little girl is one day off, soaring through the stars to Jupiter, I'll be able to look at her picture and still have a piece of her close by...
 
No budding artist in your home, or are they dead set on having Dora on the wall and you don't draw?
Problem solved!
I ran across a fantastic tutorial earlier.
Nora from over at Handmade and Heavenly 
shares how she got some of her son's favorite cartoon characters onto their pillows.
A similar process to what I did, but a lot more details and pictures!
Check out her tutorial here...
 
Don't forget tomorrow's T.G.I.F. linky party! I feel the need for your inspiration...{and I like to visit your blogs!} The link opens at midnight just in case you don't like sleeping.
 
Happy Crafting!

Thursday, January 27, 2011

More Threads and Thrills...Rolled Rosette Pillow

*** 9/09/2012 I just received a comment on this post that I can't decide if they were joking or not. It was kind of mean, but either way, they asked that I let you know that this project isn't quick. It took me several hours to complete one pillow so if you need to have this done in an hour here you go...it's not going to happen, sorry. But then too, I did mention that in this post. I removed the comment, it makes me sad, hopefully your pillow will make you happy!***

I've been pining for pillows lately, today I finally got around to making a few. I am elated and tickled pink with them, so much so, I feel the need to share the story of their creation...

In my efforts to come up with a few examples for my Valentine exchange, I found myself at my local Goodwill. I gathered a few fantastic treasures and headed to the register to pay. Then an odd and super terrific thing happened...
The cashier wrapped all of the glass items I purchased in white t-shirts!
What? Seriously? So much better than old newspaper! 


I got home, unwrapped everything, and sat staring at a pile of white t-shirts. I felt super guilty at the thought of tossing them, but what to do?
Then the light bulb started glowing. I ran across a beautiful pillow last week that was covered in crocheted flowers-I wanted one badly.
Two problems though, one the pillow was $70 and  two, I don't crochet.
I thought I had solved the problem by resolving to make the flowers from ribbon, would have worked but would require A LOT of ribbon. So what if I cut up the t-shirts instead?
OH YEAH!
Thank you Goodwill lady!


 I tore the t-shirts into long strips about 1 1/2 inches wide. The nice part was because I tore instead of cut, the edges rolled on their own, saving me a ton of time.
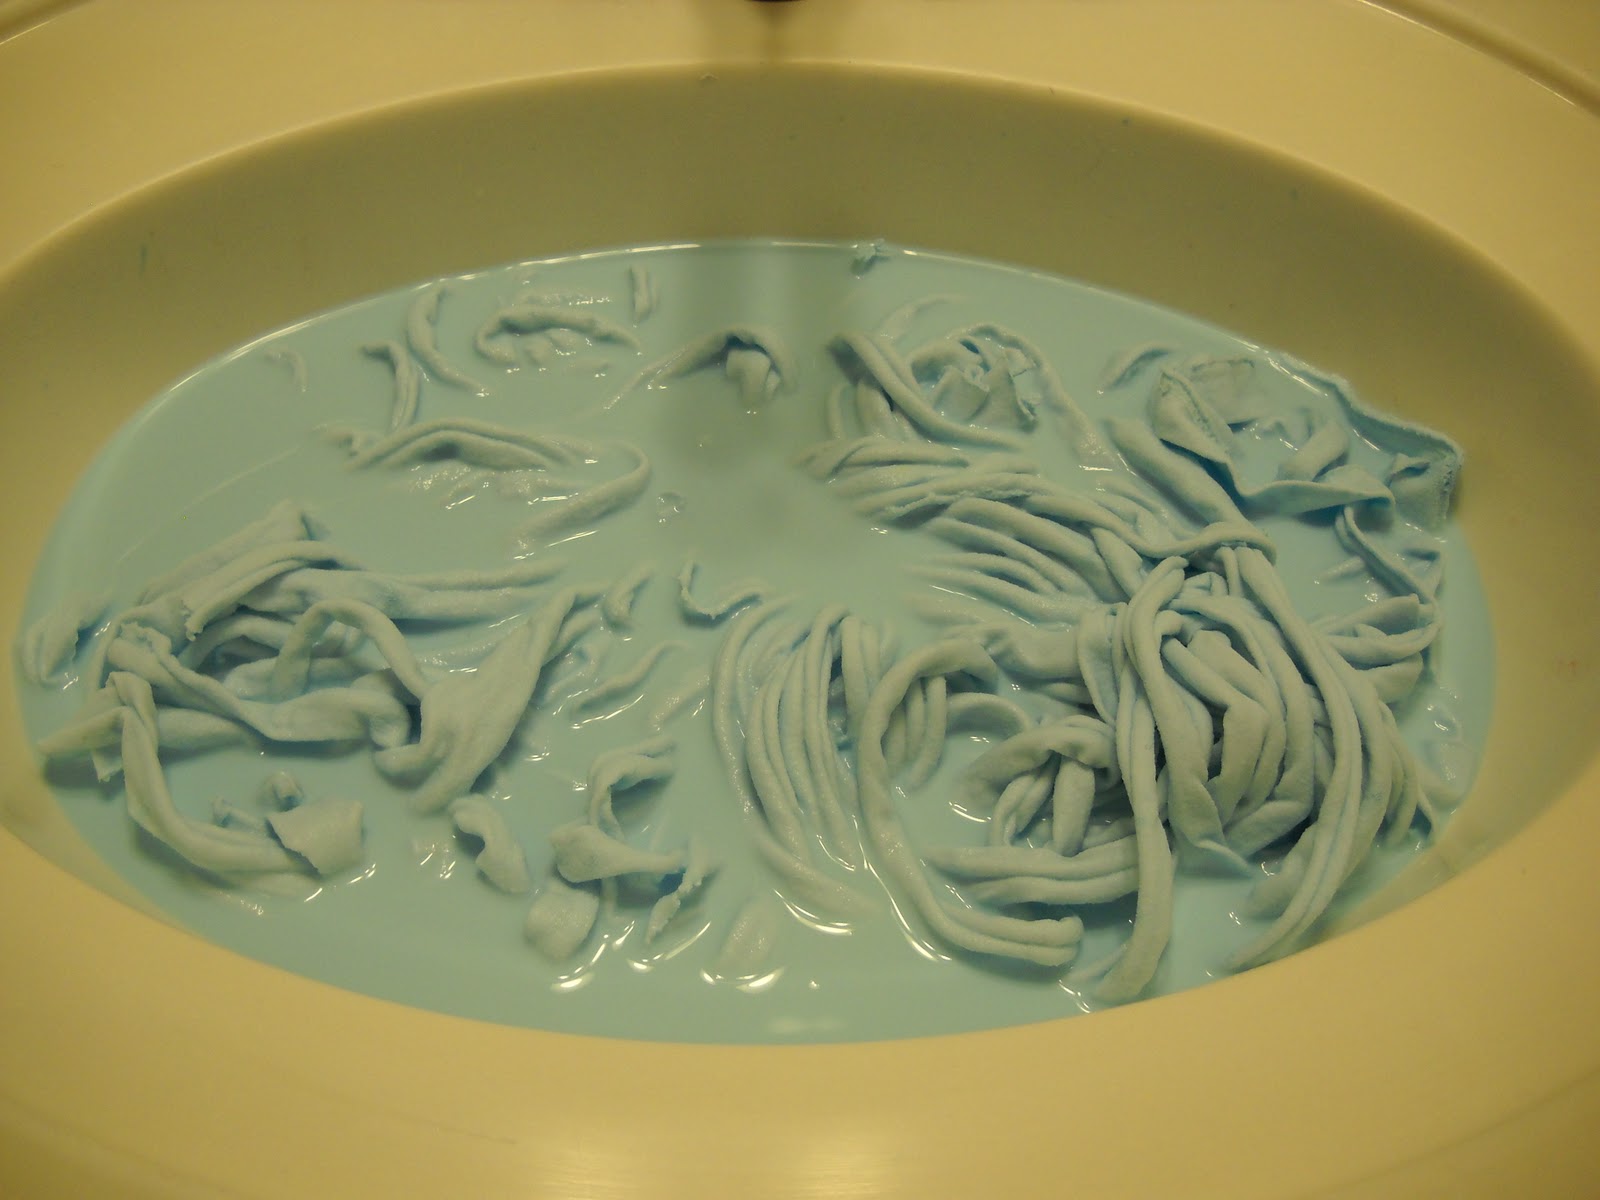
I gave the strips a bath in a mix of warm water and baby blue paint.
{I knew this would last due to the countless #of shirts I've ruined while painting}

 I rinsed the strips out, gave them a twist to remove the water and threw them into the dryer.
Then I started rolling, and rolling, and then rolling a little more. Once I had the flowers rolled and stuck together, I sewed them onto a pillow square.
And ta-da...
...my baby was finished!
Just in case you're wondering, I used approx. 60 rosettes per side for 3 pillows, and I used 12" pillow forms.
The ironic part, I was trying desperately to finish these to enter them in a contest. They took a bit longer
(like several hours...) than I thought they would, and I missed the link!
But that's okay cause these babies rock!
And thanks to the awesome Goodwill  lady, only cost me the price of the pillow forms...

Happy Crafting!


I've linked this post to these great sites:
My Romantic Home
Someday Crafts
Tatertots and Jello
Bubbly Nature Creations
Fast Daze
I {HEART} Naptime


Thursday, January 6, 2011

Threads & Thrills Thursday...my need for pillows

I definitely have PILLOWS on the brain. I love how a bunch of fun colors, different textures, and sizes and shapes can make such a BIG statement. I have plans to {finally} get around to decorating this place I now call home. I’ve been stuck under a “NO PAINTING” clause in our lease contract that has had me scared to do anything-but no more! I am determined to bring color back to my world. And I’m starting with new throw pillows.{Brave, huh?}
I have an idea of what I want, but sure did peruse the net to find a few more ideas.
 Check out what I found…
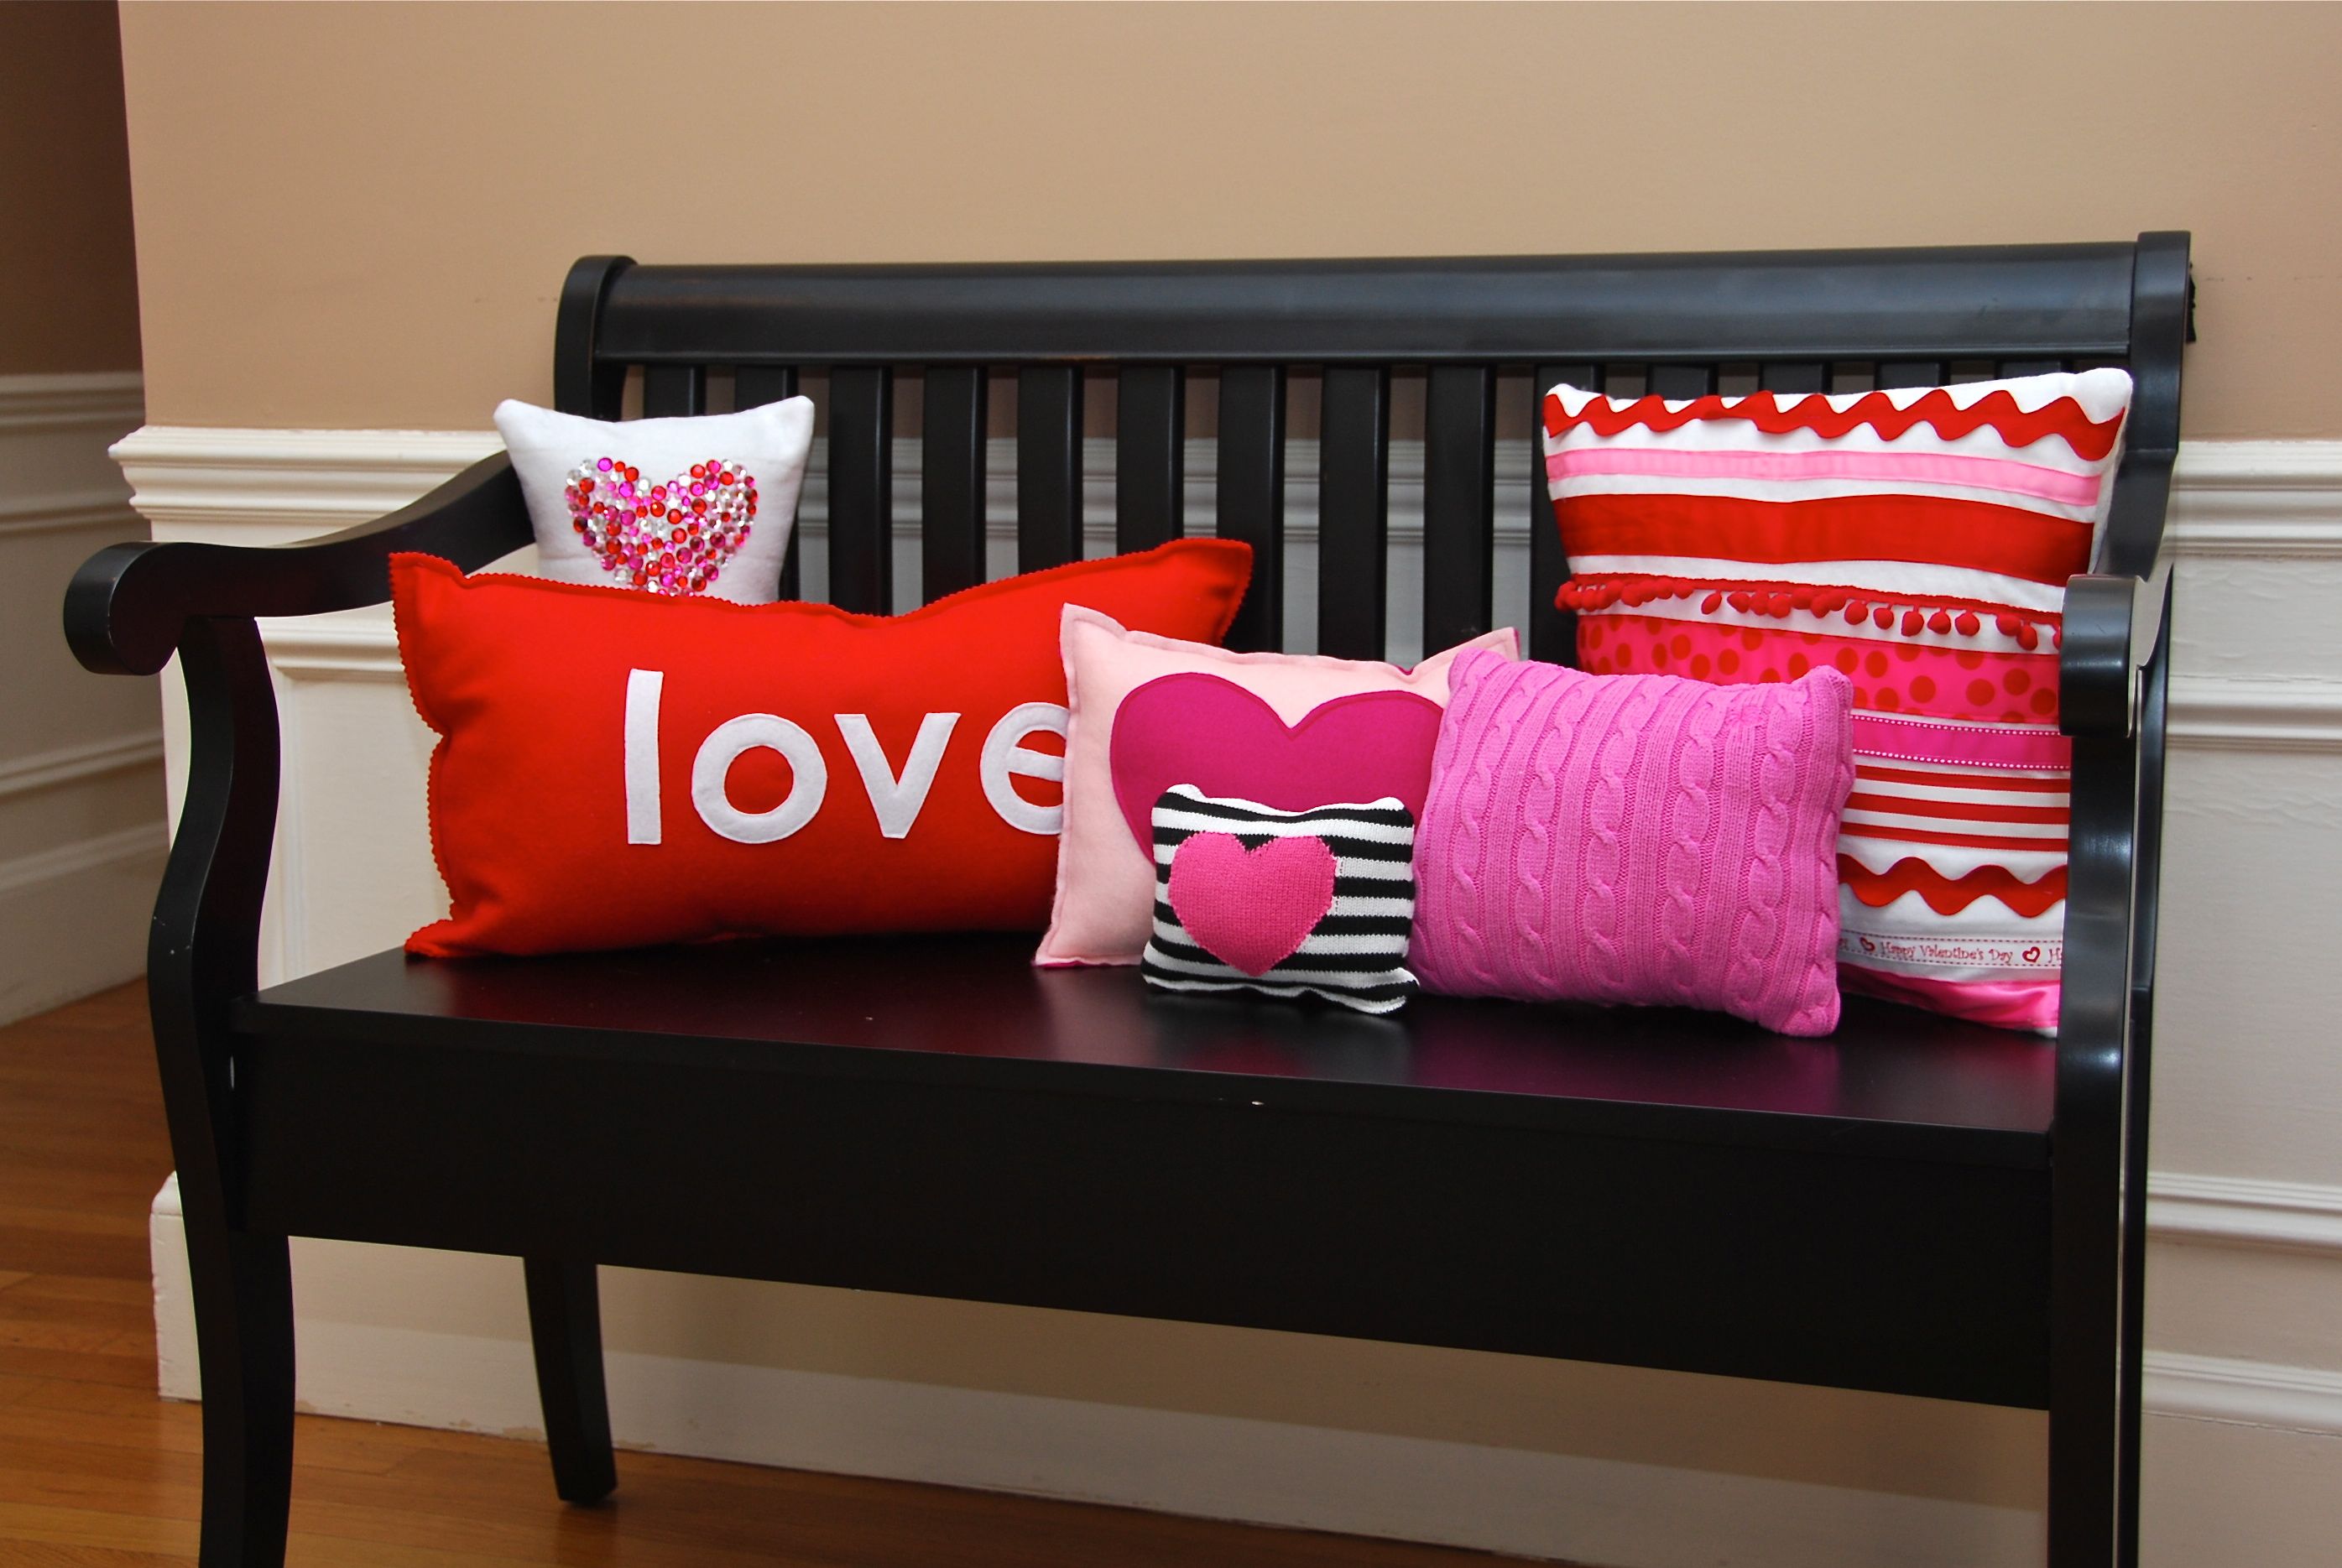
These little cuties were made by Felt So Cute, {I’m loving the rhinestone heart one!} I have a bench on my front porch that would benefit greatly from some friends like these.
                                 
She shares how she whipped these cuties up HERE.
I was strongly leaning toward ruffles for the pillows in my family/living room, this made my decision for me… Caroline from Artfully@ Atelier Caroline crafted this amazing cloud of fluffiness…
  

And how about these beauties from Brassy Apple? I want to run and jump right in…
 She shares the tutorial HERE.
...and last, I’m dying to  try something like this…
Jen from Tatertots and Jello put these together before Christmas. I loved it then, love it now. I think it would be fun to use my last name across the top and then a few words that describe our family on the bottom. She posts the how to’s HERE.
Have pillows you want to share? I’d love to see them, I have a lot of pillow friendly places that need to be filled in my house and anyideas are welcomed. You can link them up tomorrow to my T.G.I.F.-Thank GOODIES it’s Friday! Linky party-or anything you’ve been working on. The link opens at midnight CST.
Happy Crafting!

Tuesday, December 14, 2010

A Hand-Made Christmas Part 2

The inspiration for this project came from a PB picture I found in my inbox a few weeks ago.
Photo Credit (Pottery Barn)


I immedialtely fell for these! Love those ruffles!
 (These ones are $19 for 2, that doesn't include the monogram)
 
So thank you Pottery Barn, you led me one gift closer to having my list complete.
 
 
Photobucket

These are the ones I made for my sister.
 I bought the towels in a set of 5 for $5 at Wal-Mart, spent about $5 on the ribbon, fabric, and buttons to finish them.
 (I had left over heat-n-bond from my still unfinished pillows-UGH!)
Found a fun red cassorole dish for $8 at the grocery store to put them in, and I still have a few dollars to play with in my per-present budget!
(I'm thinking of adding some matching bowls)
 
Gotta LOVE a fun knock-off! 
 Happy Crafting! 


Thursday, December 9, 2010

Pillow Issues and Patterns...

How did it get to be Thursday already? Doesn't that always seem to be what happens this time of year?
 I started working on these pillows late Monday night. After some, okay a lot of trial and mostly error I got a star that I liked figured out. The letters and holly leaves were a piece of cake. Got everything cut out and ready to sew...
Sat down Tuesday to finish them AND MY SEWING MACHINE BROKE!
 
So as I sit and wait for it to be fixed, contemplating if it would be worth trying to hand sew it, I will share the patterns and wish you better luck than I am currently having! I DO believe these will be darling so give them a try and report back, I'm dying to see some finished!
 
{I am realizing this desperatley needs pictures, I'll add them in as I can}
 
Here's what you need:
1 1/2 yds of muslin
heat and bond lite
about 1/4 yd fabric for letters
Green felt for holly leaves and snowflake
(1 square is plenty)
6 small red buttons for berries
3 yds of trim for pillow edges
 
And of course a few patterns!
 
page 1
page 2
page 3
 
So the plan from there would be to trace and cut out 5 of the star pieces. Tape them together so that they form an actual star, should be about 15 inches across when done.
 
Trace 3 stars onto doubled muslin. Cut out leaving a 1/4 in seam allowance. Set aside.
 
Iron the heat and bond onto your letter fabric and felt following the directions. Trace the letters, leaves, and snowflake onto the paper side of the heat and bond.
*Remember to trace the letters backwards*
 
Cut out and iron them into place on the star cutouts.
Add any hand/machine stitching to the letters now.
Sew on the berry buttons.
 
Turn each pillow right sides together and pin trim into place. It will sit in between the two fabric pieces with the finished edge facing in.
 
Sew the pillows together, leaving a small section open for turning and stuffing.
Turn the pillows right side out and stuff away!
 
Hand stitch the opening closed and display those babies!
 
I am determined to finish these {before Christmas!} good luck, holler if you need clarification, and
Happy Crafting!


Saturday, November 20, 2010

Day 20- Glove turned Snowman!

I have to start out this post by sharing a quick thought...
I've been keeping all of the ornaments for this give away in a mailing box in my craft closet. Once I've made it, photographed it, and then posted it, I put a little tag on it and place it in the box. Well today, I actually looked in the box-
Holy Cow! I want to win!
Actually, I just want to get a box like this in the mail one day. I wish I could be in the box when one of you opens it, just to see the look on your face! And to think we've still got 10 days to go...
{I might need a bigger box!}

Okay, on to today's addition...

This little gal is not made from the glove so much as from the middle finger of the glove-cause that's a bad finger anyway I gave it a good purpose!

I snipped off the fingers of a cheap pair of fleece white gloves-don't toss them, you can make a whole family.
And found an old baby doll sweater that had long out lived its purpose and started cutting it too. A sleeve for the hat and the ribbing for a scarf and around the bottom. Then I threw in a snippet of orange felt for a nose, some black seed beads for the face, and a few buttons just cause they looked cute.

Once you've cut the finger pieces off the glove, stuff each with a bit of "fluff" as it's called at my house-or stuffing, a cotton ball or two would work as well.
Stitch the bottom closed.
Sew or glue on your seed beads to give your snowman a face.
Cut your orange felt into a small triangle, add a bit of glue to the center and fold it in half. Once dry add it to the face too.

Sew or glue on your buttons, tie the scarf around the neck, glue a strip of ribbing onto the bottom and the hat piece onto the head. Grab a piece of thread and tie the top of the hat closed. If you leave the tails long enough, you can use these to make a hanger. And your done!

Get your kids involved in the decorating! You could completely omit the sewing with glue and this becomes a very do-able kid project for the weekend.

Happy Crafting!

Monday, November 8, 2010

Day 8-Hand Stitched Angel Ornament

This hand stitched ornament is meant to go along with the Nativity Ornament posted on Day 1. It is part of a set of 4 scenes, the family, the shepherd, the wise men, and the angel. The image is posted below for you to use as you wish. Make a pillow, a framed stitching, a dishcloth, whatever you can think of. I'd love to hear about where you use it and enjoy a picture even more. 


I'll post the other two images throughout the month. If you'd like a sneak peek all 4 patterns are for sell at my etsy shop ...Well Good! Through the rest of November these 4 pattens and Ready-To-Go kits are buy 3 get the 4th free! Visit my shop for details.

Happy Crafting!

Thursday, September 30, 2010

Super Saturday Projects...part Wendy

   My very good friend and I decided a while back that we need a special craft night in our lives. One night a month where a group of fun and crafty ladies could get together and have a great time making something. This has been one of the funnest things I have ever been a part of! We laugh, we cry, we paint, we eat...it's down right therapeutic.
   Being that this group of ladies is amazing we decided to tackle a "Super Saturday" of our own this year. One day, tons of projects, lots of friends, and great food. It is going to be a great, no SUPER day.

Here is a quick peak at the projects I submitted. All projects are available for purchase, unfinished as you would get at a Super Saturday, or finished by me for a slightly greater price. Drop me an email and I can pass on details...


This little guy will welcome your holiday guests with a sweet treat.
 His tail feathers hold 15 lollipops!


This holiday frame features a center image and ribbon that changes with the season. Hooks together with velcro for quick and easy changes. (Keep watching for holiday image kits to come)


This sweet holiday ornament is indeed stitched with love! Simple stitching and coloring with crayons complete this piece.


Wooden food kits. Paint or paper, choose from Cookie Kit or Sandwich Kit.
(Parts of each kit shown in photo)


Wooden "Frosty" letters. A fun way to welcome winter into your home.
 This pattern is the December kit for my "Word...of the Month" kits.


And last, this cute little gobbler welcomes all who knock on your door.
Paint and paper project on wood, turkey only. Easy and fun.


Well, there you go. And these are only my projects. Want to see the whole list? Jump on over to my gal Melinda's blog for all the projects, prices, and details of what each kit contains. Thanks for stopping by, now go create something today!
Related Posts Plugin for WordPress, Blogger...