


Hi Craft Goodies fans! I’m Mariah from Giggles Galore where I share my passion for sewing, celebrating holidays, crafts, parties and making memories with my kids.
I am a busy mom to our sweet 4 year old and rambunctious 2 year old twins. At times our house can be a little chaotic, but there are always giggles galore.
I am super excited to be guest posting today on Craft Goodies sharing one of my easy craft projects you can make for your kids.

When I was a little girl my dad made us wooden bug boxes to catch bugs. I remember filling them with roly-poly's (pill bugs), ladybugs and caterpillars. It was fun to create a home for the bugs with grass and twigs and watch them, especially on the rare occasion that the caterpillar lived long enough to transform into a butterfly!
The original box was made out of 1/2" cedar but I was trying to only use what I had on hand. So I went to my scrap wood pile and found some 1/4" plywood that would work.
I made a template for the 3 pieces, which you can download here.

Use a jigsaw to cut out the curved pieces and a table saw to cut the flat bottom piece.

Take one piece and drill a hole in the top middle. This will be your opening to put the creepy crawly things in. My husband used a 1 1/2 size drill bit to drill the hole.
Next, attach the side pieces to the ends of the flat bottom piece with wood glue. Staple the bottom for reinforcement.

My plywood wasn't very pretty so after the glue dried I let the kids pick out what color they wanted to paint their bug box. I gave each box a few coats of spray paint.

So far, I've spent nothing on this project. But I needed a screen to cover the box and went to one of my favorite places to shop, The Habitat Restore to look for something that would work. I found an old window screen for $0.25, perfect! I cut the screen out of the frame.

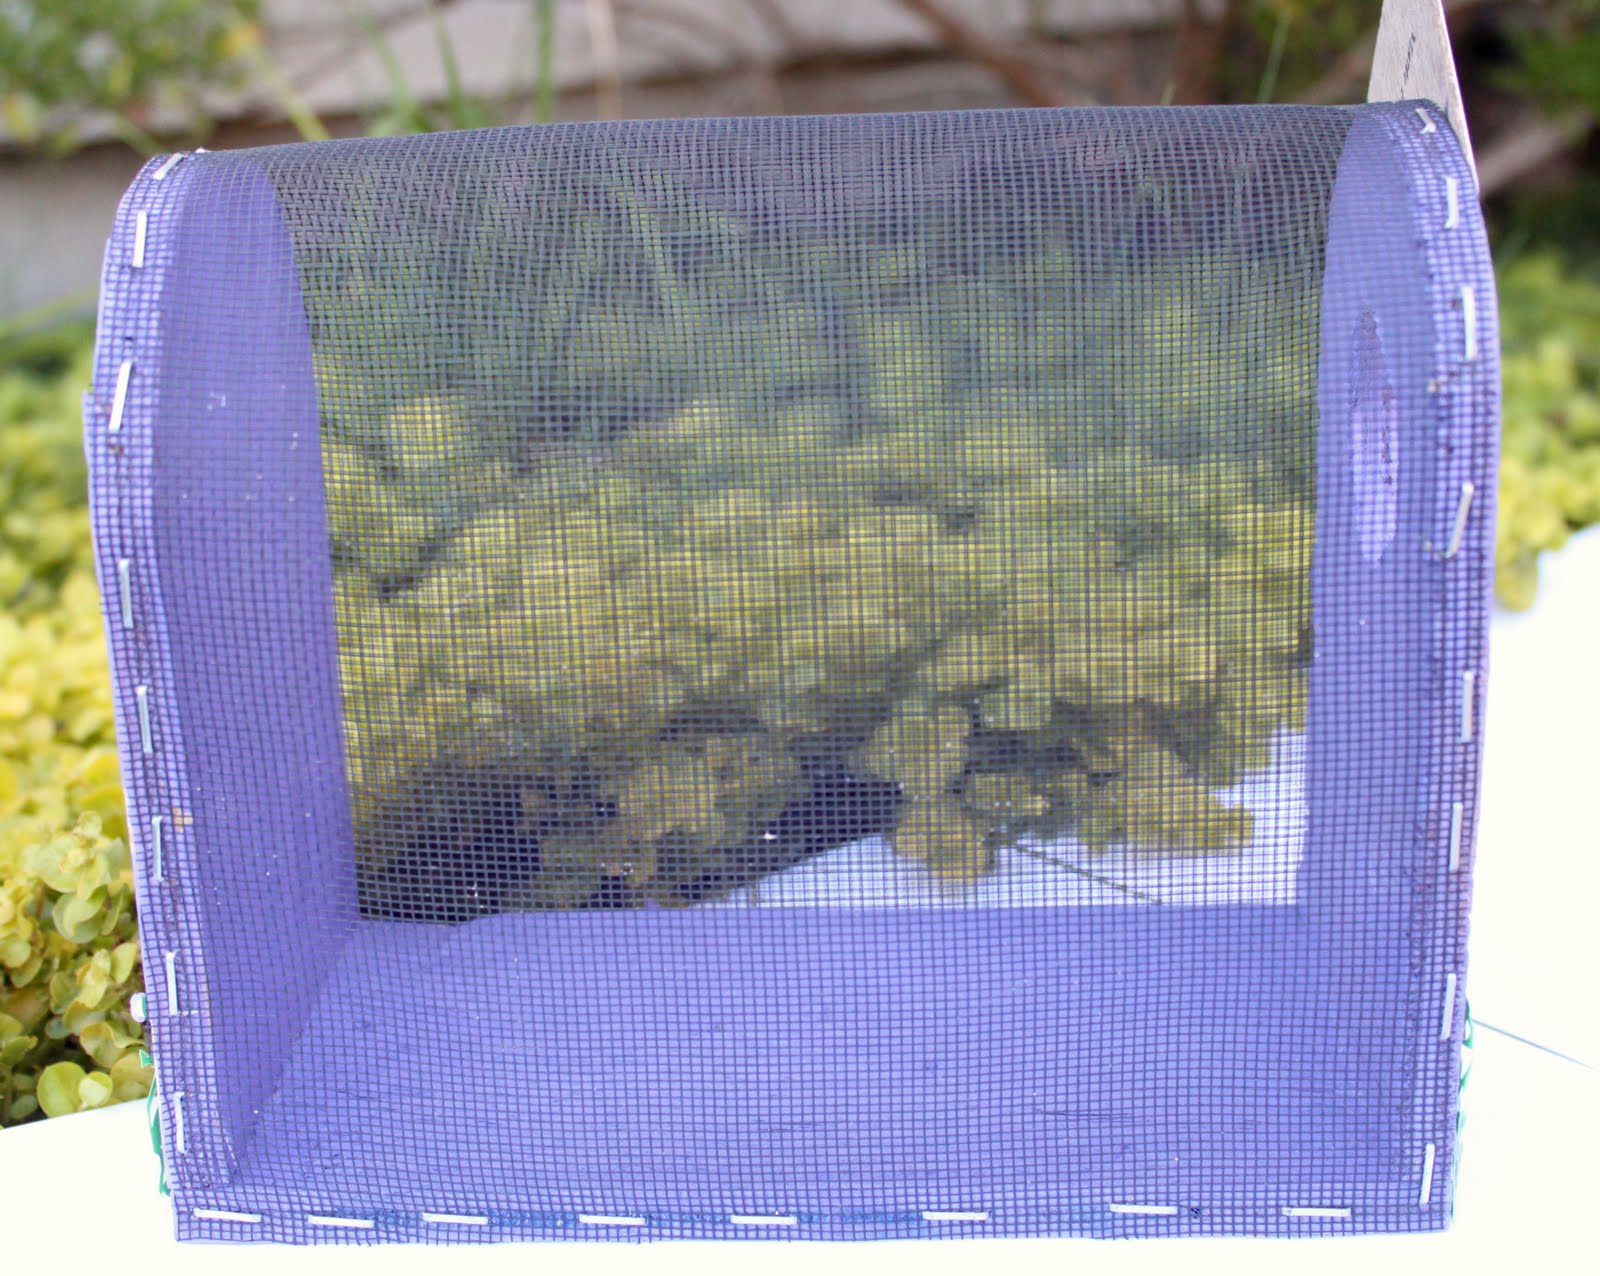
Measure the outside of the box and cut the screen to fit around the opening

The next step may required an extra set of hands. I wanted to make sure the screen was pulled very tight so my husband helped me staple the screen to the outside edges of the box (ok, ok the truth is that darn staple gun was hard to do!)

Now you just need to add a door to your little bug home. I used counter top samples that I got at Home Depot. They are solid and already had a hole at the top (you don't want bugs escaping and crawling all around your house do you?)
Take a small screw and drill it into the wood to secure your door.

Every home needs a little decoration so I spruced up our bug boxes with stickers and embellishments I had on hand.

Now you have a pretty little home to collect insects. You can collect anything from grasshoppers, centipedes and lady bugs to lightning bugs, butterflies, moths and more.


I hope you have fun creating your own bug box, I'd love to see what you create! Thanks Wendy for having me and thank you for crafting with me today! Be sure to stop by my blog or etsy shop and say hello! I love meeting new friends!
SO much better than a glass canning jar!!! My girls will be hitting up their grandpa for a few of these! Thanks so much Mariah for a great and crazy-fun idea.


1 comment:
Thanks Wendy for letting me share. I hope you are enjoying your vacation!
Post a Comment