Hi there! And welcome to Craft Goodies. I'm thrilled that you've stopped by and hope you find something here that makes your visit a great one...
Showing posts with label teacher gifts. Show all posts

Wednesday, May 4, 2011

Teacher Appreciation and Year End Gift Ideas (part 2)

All righty, here we go with:
Album # 2...the School House!
 

Here's what you'll need:

1/4 inch MDF or chipboard/thin card board
paint or paper to cover the school house, eaves, and bell
paper for the doors and name plate
Black ink pad
ribbon
2 buttons
fine tip sharpie
Glue dots
3 pieces of 12x12 inch scrapbook paper
*if you paper cover the school house you'll need mod Podge*

Finish the Covers...

Following the patterns, cut out all the pieces needed.
SCHOOL HOUSE FRONT COVER PATTERN
SCHOOL HOUSE BACK COVER PATTERN
SCHOOL HOUSE DETAILS PATTERN
* CLICK THE LINK. CLICK ON "FILE" ON THE FAR LEFT. CLICK PRINT.*
 
Paint the front and back covers red, all sides.
Paint the eaves, once dry, glue into place.
(Refer to picture)
Cut the bell, doors, and nameplate pieces. Distress edges with black ink, add additional details with the sharpie and glue into place.
Add a bow to the top of the bell and the buttons to the door.
Set the covers aside.
 
Assemble Pages...

Just a little after thought...you could use the page folding technique for either album (the fold out here, or the accordion fold from the Crayon Album) the covers are about the same size, either would fit! So go with the one you like best.


Fold each of the 12x12 sheets into fourths.
 

Then make 1 diagonal fold into each paper square.
 

Unfold all three papers and lay them side by side so that the diagonal fold is running straight up and down.
Over lap the bottom right square of page one with the bottom left square of page two.
It doesn't matter which one is on top, pick the paper you want showing and then glue them together.
It should look like this:

Repeat those steps with the second and third pieces of paper, over-lapping and then gluing.
You will end up with one continuous piece of paper that looks like this:

Fold the Pages:

Start with the page furthest to your left.
Using the diagonal fold as your guide, push the fold (B) toward square A.
Repeat with the second fold (C) pushing it in toward square A.
All of page one should sit on the glued square of pages 1 & 2. See 3rd picture above.


Turn the entire piece over so that the square you just folded is face down and furthest to your left.
Repeat the steps above using the diagonal fold as your guide to push in the folds.
You should end with the folded pieces filling the glued square of pages 2 & 3.


Turn the piece over again and repeat the folds.


You should end with a 6x6 inch square.
Right side up = backside of page 1 face up, back of page 3 face down .
Open end of folded pages closest to you.
(See above picture) 
To unfold it, grab it by the bottom right corner and pull back.

To glue the pages into the covers, refold the pages.
Center the folded paper square onto the back cover, then glue into place.

Add glue to the top piece of folded paper and then place school house cover on top-
line up the covers to be sure everything is centered!


Decorate the Pages:
 
You will have four 6x6 squares to fill, you can decorate the triangle folds too.
My first square is a chubby little hand print and signature.

The second was a fun year-end picture.

Square #3 was their diploma.
And square #4 a class picture.


Wahoo! Two albums down, a few baskets to go. These really are pretty easy to put together-let me know if you get lost anywhere in the directions...
 
Happy Crafting! 

Teacher Appreciation and Year End Gift Ideas...(part 1)

Once upon a time, I was a full time preschool teacher.


 One of my favorite times of the year was graduation. Okay, it was also one of the saddest, but I loved being able to look back and see the growth that my little buddies had made over the year.


I'm really big on making keepsakes with my little people, they are only little once! And graduation was no exception. I wanted something special that they could keep forever to remember the year that we had spent growing and learning and came up with these...
 
School House Diploma/Fold Out Album


...and Crayon Diploma/Accordion Album


I'm going to walk you through the crayons first...keep in mind that for a teacher gift, you might only want a few pages with a class picture, maybe some fun pics from throughout the year and maybe a special note...

My covers are cut from 1/4 inch MDF but you could easily substitute chipboard or thin cardboard.
Trace out the pattern and cut your pieces, you'll need two.
If you use wood, give the edges a quick sanding.
 COVER PATTERN
DETAIL PIECES PATTERN
*click the link. click on the "file" tab on the far left. select print.*


Finish the covers...

Trace the covers onto colored card stock.
Cut out the images and adhere them to the cover bases, ink the edges.
Trace the detail pieces onto desired color card stock, cut out, ink edges, and adhere onto crayon cover.
Add name to center oval-I used stickers!
Repeat the same process for the back cover. You can add the detail pieces if you'd like.


Assemble the pages next...
Determine the number of pages you want in your book, mine has 8.
Cut your page card stock to 6 long x 7 inch wide.
 Make a one inch fold on each page so that your page measures 6 inches square + 1 inch fold...


Lay the pages out so that the fold is on your right hand side. Glue the left edge of the second page onto the fold of the first page, being sure to line up all the edges and that the fold is UNDER the second page.

Front side up
Looking at the back side
 Repeat this same step until all pages are glued together.
 Cut off the "fold" on the last page.

Fold the remaining pages in a fan-like pattern, forward, back, forward, back, etc. until you get to your last page.

Center the first page onto the back of the front cover and glue into place.


Glue the last page to the inside of the back cover-be sure to center it.


Decorate your pages!

My first page is an info page that I had them fill out in the fall.
The second was their hand print made in the spring:

Hello! My name is ____________
I write it like this:

I am ____ yrs old. My favorite color is _______.
I like to play __________.
This is a picture of me:
*they drew a self-portrait here
(date info was taken)

The third page is a spring picture, the 4th was the same info page re-done in the spring:


The 5th page is a class picture, and the 6th was their diploma:


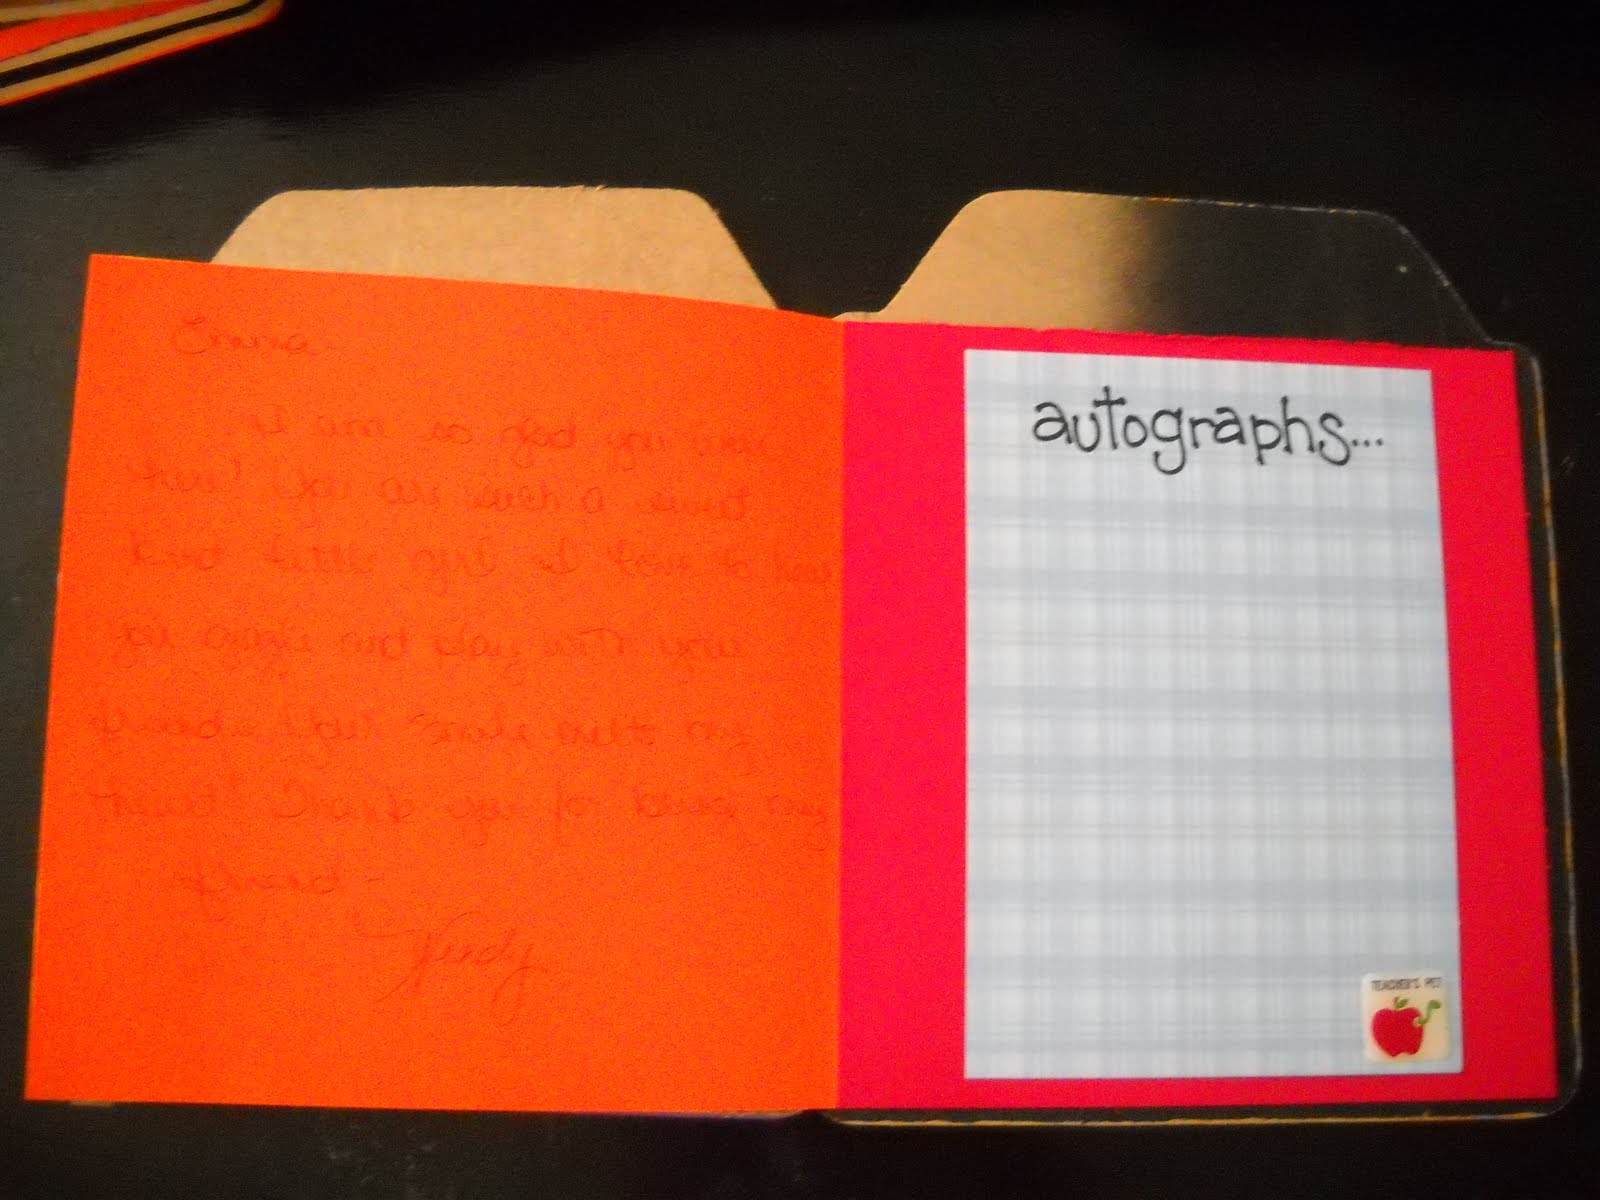
And the 7th page was a letter written from me to them, and last a place for auto-graphs!


There you go! You did it!

One very cute, very sweet little crayon album.
Wouldn't you just LOVE getting one of these?
Or better yet, seeing the look on your teachers face when you give them one!

PLEASE!!! Let me know if you have any questions. Thanks!

Happy Crafting...


Wednesday, December 15, 2010

From Your Little Ones...

Today should have been "Word...of the Month" release day.
 I know what I'm doing, just haven't had time to cut anything out.
So forgive me, I'll have them out this weekend-plenty of time for you to put together a New Year craft night!
 
Today I hosted a preschool Christmas Party. Just wanted to share the gift the kiddos made for their families.


They each painted a small flower pot and then stamped their hand prints onto thin cardboard. We cut them out and glued them onto the rim for antlers, painted a face, and added some felt ears.
Inside is a bag of cinnamon red hots, I added this poem:

Super cute and a fun keepsake,
Happy Crafting!

Saturday, December 11, 2010

2010 Teacher/Neighbor Gifts

My daughter's class is doing the sweetest thing for their teacher this year! As a former teacher, I would LOVE to receive this.


The room moms decided on a theme of "The Giving Tree" based on the book by Shel Silversteen. We are giving her a copy of the book with the students autographs inside and a tree full of gift cards to her favorite places.
{We had her put together a list of those places and then had the kids each bring in a gift card of their choice.}
My part in this is finding a cute way to hang the gift cards. I ended up making little burlap "purses". They are just the right size for the cards and look so cute on that tree!


I used this tutorial to get the wording on the burlap.
Sewed two quick seams (YEAH! The sewing machine is back!)
And then had a blast embellishing them.
I recruited my girls for the handle-beading and we finished all 20 bags in a few hours.

I liked them so much I decided to make some a bit bigger and use them for my neighbor gifts this year.


I'm thinking I'll fill them with some homemade caramels. YUM!

Happy Crafting...


I linked up to this week's contest over at Poppies at Play
 
Go check out all the fun, super cute entries!


Photobucket
And check out all the craftiness going on this weekend at I {heart} Naptime!
Related Posts Plugin for WordPress, Blogger...