Hi there! And welcome to Craft Goodies. I'm thrilled that you've stopped by and hope you find something here that makes your visit a great one...
Showing posts with label 4th of July. Show all posts

Thursday, June 30, 2011

My Fourth of July Goodies...Done!!!

So it took a little longer than I thought-doesn't it always!
But I've got my BBQ favors and decor DONE!

 
Here's the breakdown...


The Martha Stewart rocket favors became these. When I went to the store to get the mints I ran across the little tootsie roll banks instead. You know, cardboard tube, plastic lid, chuck full of yummy-ness. They were on sale and well, being me my thought was "How fun would it be for each of the kiddos to get their own bank/rocket favor?" And in reality the cost was pretty much the same as buying enough candy to fill the other ones!
I just covered the bank with scrap paper, made a paper cone for the top, glued a dowel onto the side, and added a ribbon "fuse" to the bottom.
Super simple!

Up next, the lifesaver firecrackers became...

...only because the only rolled candy I could find were mints!
And really who wants to hear, "Glad you made it, here, have a roll of mints."
I used the long, skinny laffy taffy. Just folded it in half, tied a ribbon fuse at the bend, and the covered them in more paper.

My flag project was this little guy...

Loving it!
It's all scrap wood- a square of 1x4, 2 pieces of 2x4 (the ruffle is hiding the seam), and a fence post topper meant for another project that never materialized!
I painted, added some ribbon, drilled 5 holes and glued in the flags.

And the last part, my new not-so-little uncle...

 I wanted something fun by the front door to greet my guests, this guy fit the bill!
He's a total stiff-made from 1x12 inch pine, but I love him!

I'm thinking it's gonna to be a GREAT time!
See you back here tomorrow for T.G.I.F and if you're starting your holiday weekend early-be safe and ENJOY!!!

Happy Crafting.


Wednesday, June 29, 2011

More 4th of July Goodies...

I may be over doing it for this BBQ we're having on Monday, but honestly-I don't care! I'm having a great time getting ready for it.

I'm spending my time today making a few of these:


Rocket Party Favors
 by the one and only Miss Martha Stewart

...and a few of these:
Life Saver Fire Crackers

...working on a centerpiece involving these:
Leaning USA Flag

...and one last wood project with this guy:

Uncle Sam

I'll share when they're finished! What are you working on today?
Hope it's great-
Happy Crafting.


Tuesday, June 28, 2011

Easy (One Board) Flag Holiday Hanger!!!

Need a quick and easy Independence Day decoration?
Give this a try...

You need a 1x4x6 and some scrap cardboard.
A little bit of craft wire and some paint. That's it.

Cut the 1x4 into 4 pieces.
1 Header @ 12 inches long
2 small stripes @ 15 inches long each
1 long stripe @ 16.5 inches long

Paint the boards, header = blue,
small stripes = red,
long stripe = white

Drill holes into the stripes so they can be wired together.
 4 in the white stripe, one in each corner about half an inch in. 
2 in each of the red stripes, in the corners that match up with the holes drilled into the white stripe.

Thread a piece of wire through the holes, twist together, and then give a little curl to the ends.

Line up the header across the top of the stripe pieces.
Drill 3 holes along the bottom of the header and co-ordinating holes into the top center of each stripe.
Wire the header to the stripes.
Add two more holes across the top of the header to create a wire hanger. Wire pieces together.

Make your stars next.
Draw them out onto the cardboard then cut them out.
Separate the cardboard layers to create some texture.

Paint the stars, distress the edges if you'd like.
Glue the stars onto your flag.

Almost done!
 Add a few embellishments like ribbon, buttons, berries, or glitter.

(You could add some lettering like "Stars & Stripes", "Old Glory", "Bless the "USA" etc.)
Find a spot to display your work, and enjoy!

Happy (Independence Day) Crafting!


Linking this post to these great places...
Too Cute Tuesday @ Funky Polkadot Giraffe
Homemade Tuesdays @ Ladybug Blessings
Tip Me Tuesday @ Tip Junkie
Running with Glitter Tuesday Party

Monday, June 27, 2011

Red, White & Blue Yummies!!!

We decided to host a 4th of July BBQ this year.
 WAHOO!
I love a great party, hopefully that's what it will be. My hubster is a master at the grill so that part is easy, it's the pretty, fluffy, in between stuff that I'm working on.
 I've been surfing around trying to find some fun goodies to try, just thought I'd share a few of what I've found that just may end up on my picnic table...
Watermelon is a give right? My kiddos would go crazy for these:
Banana Split with a Twist

Aren't these gorgeous! And 1/2 of the ingredients are healthy...
Picture of Cream Cheese and Pecan Stuffed Berries Recipe
Cream Cheese and Pecan Stuffed Berries
...that is my dream come true right there!

This one has my husband's vote...
Picture of Red, White, and Blue Trifle Recipe
Red, White, and Blue Trifle

Something a little lighter than ribs and hot dogs maybe...
Picture of Chicken Salad Sliders Recipe
Chicken Salad Sliders

...and you have to have potato salad, yes?
potato, salad, recipes, 4th, july, party, receipts

how about a Red, White, and Blue one?
..and last, some fun Patriotic Pops to beat the heat maybe?
Patriotic Pops

So what's on your Independence Day menu? I'd love to know!
Happy Crafting...

Tuesday, June 21, 2011

Uncle Sam Blockhead Tutorial!!!

 
I pledge allegiance...to my growing blockhead collection!
We want you...to make an Uncle Sam...
 
You'll need the following items:
 
small 2x4 block for the base
*mine are cut to square at 3.5 x 3.5 inches
wood nose, hat, and eyebrow cut outs
*you could also use fun foam or chipboard if wood isn't available
red, white, blue, and yellow card stock
*I also used a little piece of pink for the nose
white yarn for the beard and hair
flesh toned, pink, white, and black paint
brown or black and red ink pads
glue gun and scissors
mod podge and brushes
 
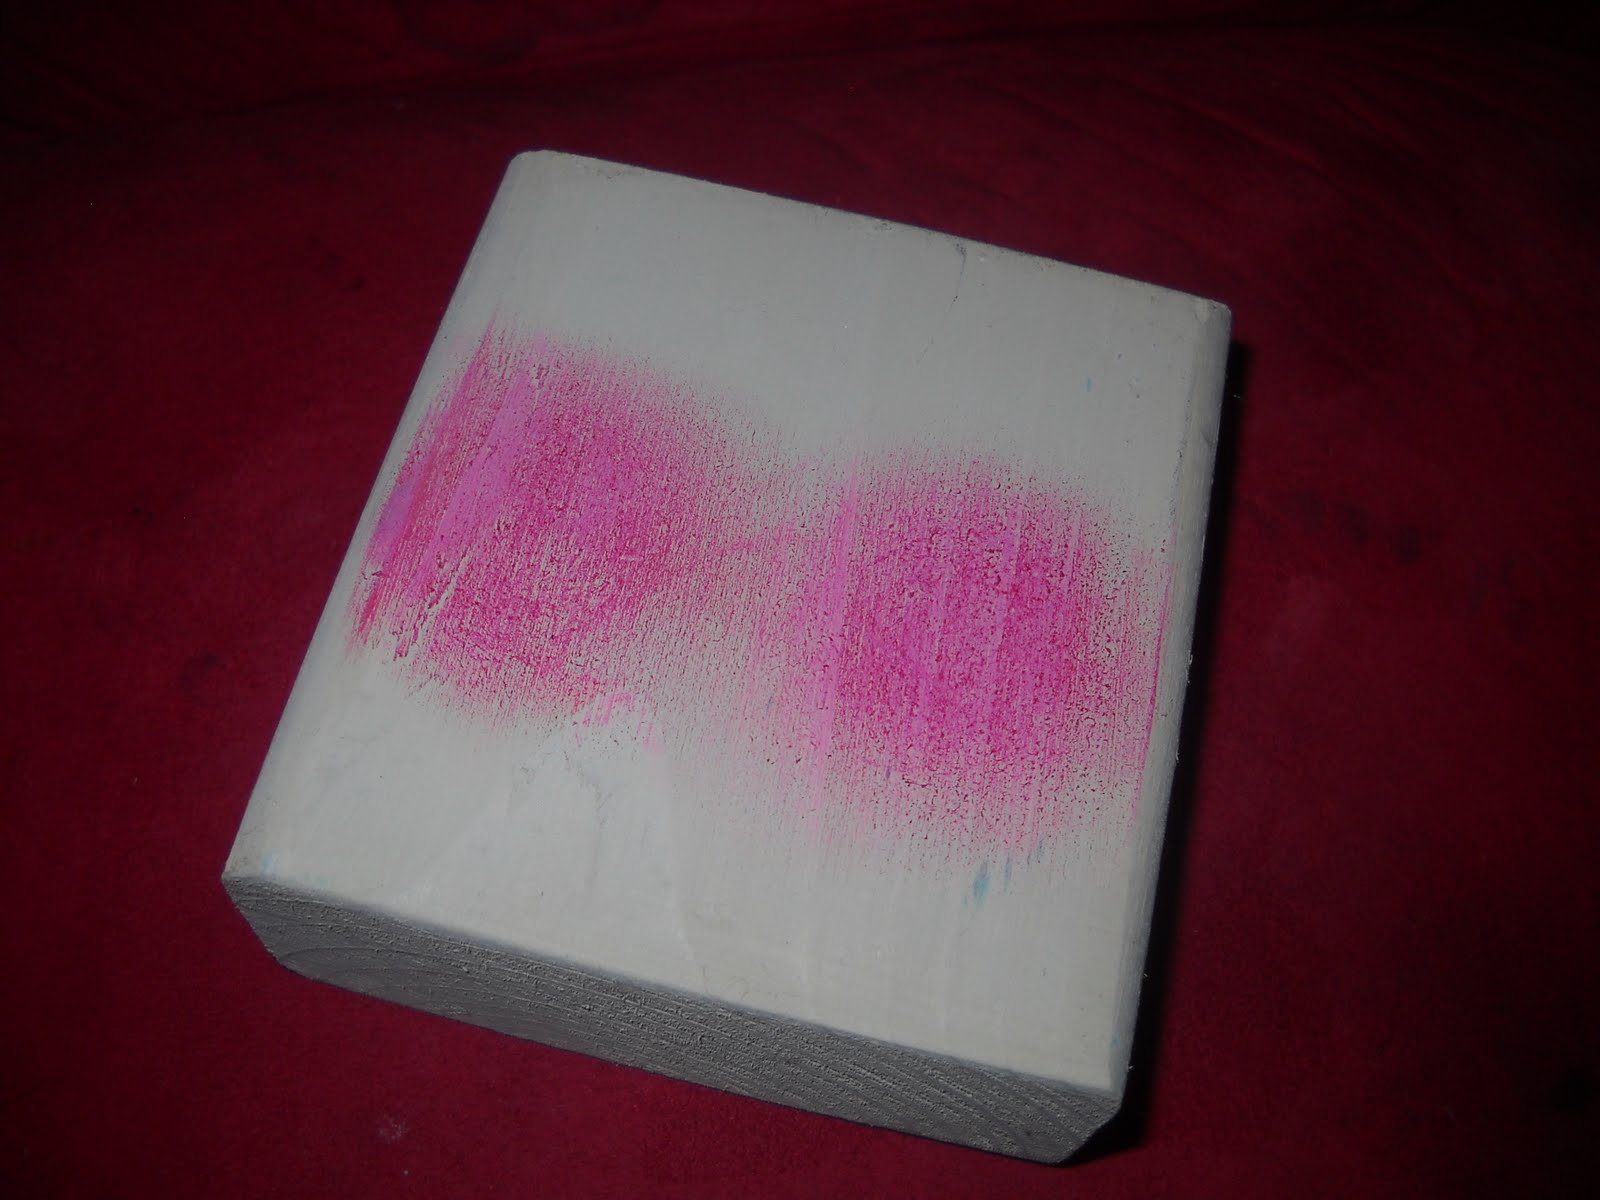
Start by sanding any rough edges from your wood pieces. Then paint the base with the flesh toned paint.
Once the paint is dry, blush the cheeks using the red ink pad...
 

Finish the hat piece next.
Trace the entire hat shape onto the blue card stock. Cut it out, distress the edges, and then adhere it onto your wood/chipboard hat cutout.
Cut the top portion of the hat from the red paper, a stripe from the white, and a star from the yellow. Distress edges and adhere onto the blue hat piece going red, then white, then the star.


Next, finish the nose/mustache and eyebrow pieces by either paper covering or painting. Distress the edges with the brown or black ink pad. The mustache piece is cut from the white card stock and then glued to the back of the nose.

Use the white paint to add highlights to the cheeks and across the nose.

Using the yarn and glue gun, add loops of yarn to the back of the nose piece to form the beard.
Start at one side and work your way across to the other. You can go back and forth as many times as you'd like to achieve the thickness you want.


(You can then either leave the loop in tact or cut them.)

Glue everything into place...


Center the nose between the cheeks.
Place the hat onto the base top about 1/2 an inch down, and then add the eyebrows, gluing them onto the hat. I also added a few strands of yarn for hair.

Finish it off by using the black paint to dot the eyes just above the nose, when dry add white highlights and your Uncle Sam is ready for his debut!!

Happy Crafting. 

Wednesday, June 15, 2011

Uncle Sam Blockhead and Flag Kits are here!!!

I'm slowly getting myself put back together in regards to my shop and have added 2 new kits.
(I've got several sitting in the sketch pad, just haven't made it much further!)
 
I'm really excited for this first one...


...meet Uncle Sam!!!
He's the latest installment into my blockhead series and well, I'm kind of crushing on him.
I love the 4th of July so this guy was an obvious choice for me.
He's super easy to put together and looks so cute sitting next to my Star Lantern!

This kit is a bit different from my others in that I'm including all the paper you need to finish him! You'll also find included in this kit the base block, hat cut out, nose and eyebrow cut outs, yarn for the beard and hair, all patterns, and instructions.
You'll find the kit available for purchase at my shop. The tutorial will post next Tuesday.

This next one is my take on a few July must-haves...fireworks and flags!

The flag is created with five 2x2 blocks, a 2x3 block, and a 1/4 inch star cut out.
They are quick and easy to finish with a little paint or spice them up with some fun patterned paper.
 And the nice part-they don't take up a ton of shelf space!!! 
Super fun for a group of gals or a bunch of munchkins.

The flag set looks fantastic with a little sparkle from the included firework set.
Firework set includes a pre-drilled 3, 4, and 5 inch base piece, wire "wicks", and finishing instructions.
Sand and paint for quick finish or add matching paper to complete the look!


So much fun for a holiday display or table! And if I get with it, there should be a few more summer kits coming soon. For now, check these kits out at my shop and keep an eye out for the tutorials next week...
Happy Crafting!

 
Related Posts Plugin for WordPress, Blogger...