
First let me start by saying to all you Grandmas and Grandpas out there-
HAPPY GRANDPARENT'S DAY!
{If you haven't called yours yet, you still have time...}
Now that that's done on to today's ornament:

Today we're making this little country Santa. He's pretty quick,
{let's just say you could make several in the time it takes me to type this tutorial!}
and pretty cute, if I do say so myself.
You're going to need:
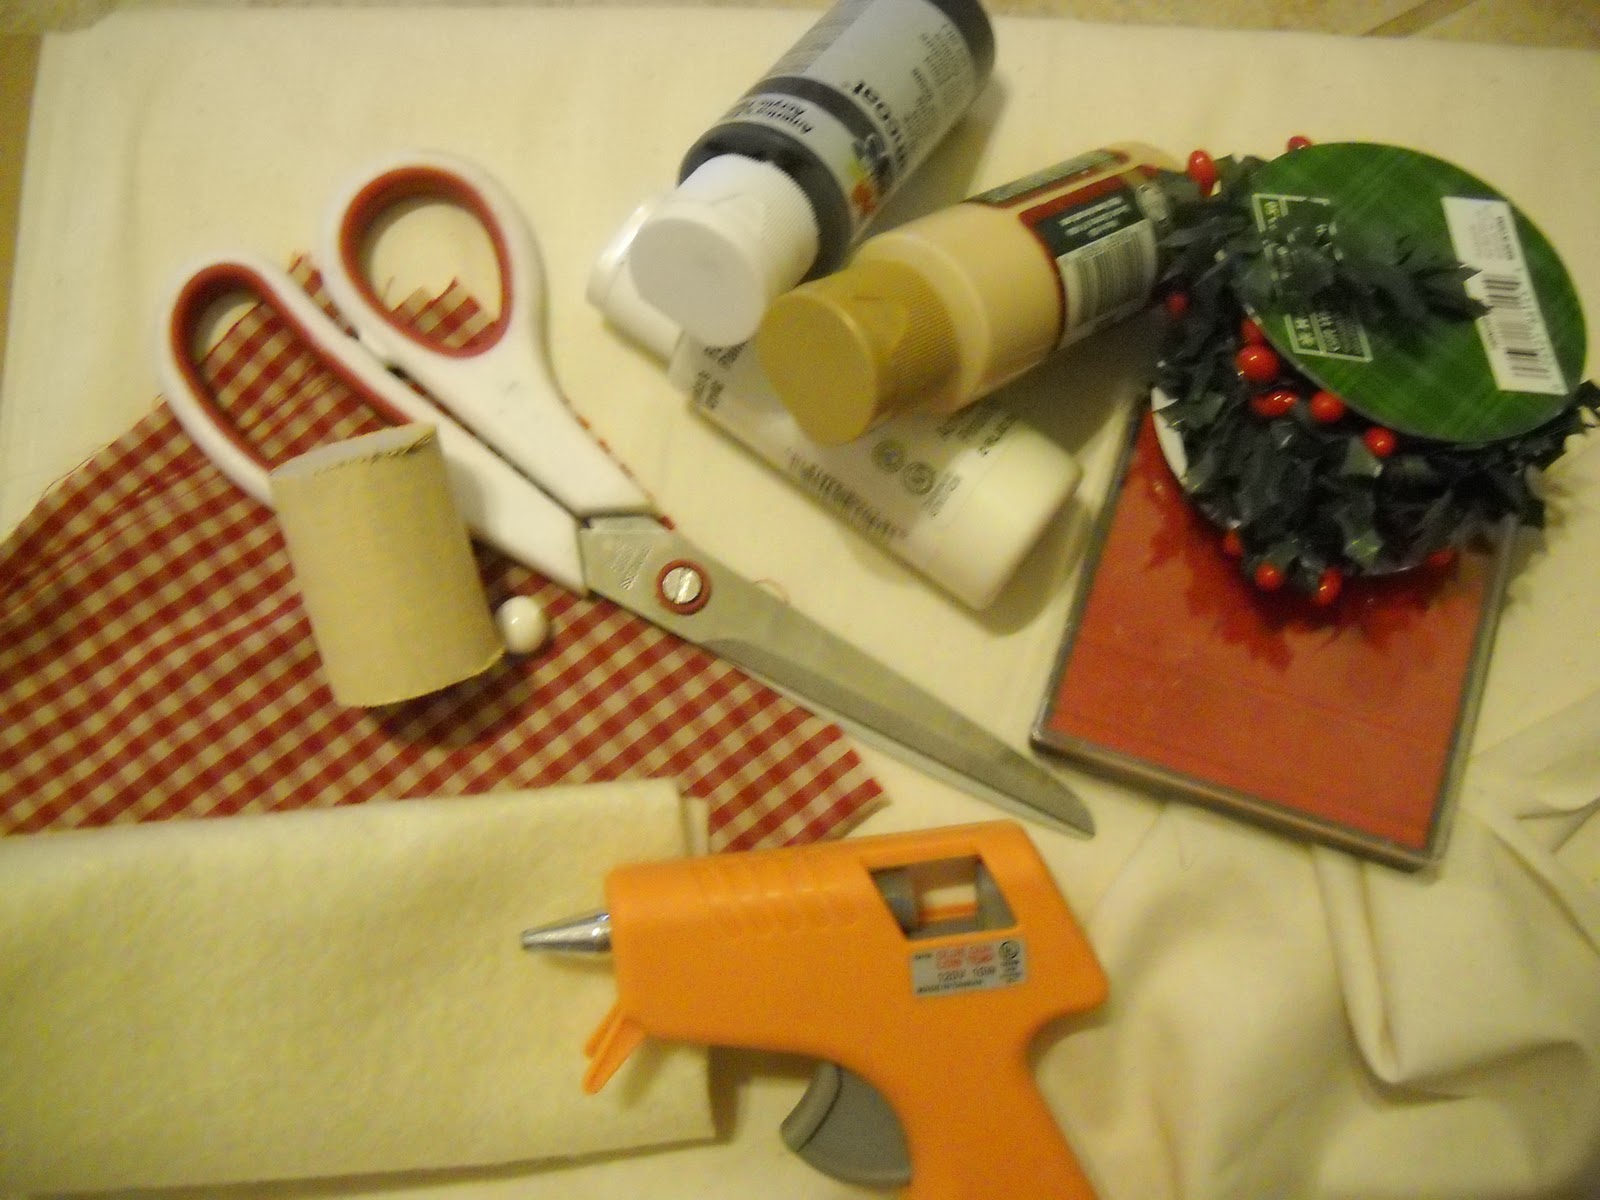
a small block or piece of 1" dowel about 2" tall
black,white, and a skin-colored paints
red ink pad
scrap pieces of muslin, ivory felt, and something Christmas-ey
a small round bead
glue gun and scissors
and a little something for Santa's hat
Start by painting be block/dowel and round bead. Once that dries, add the face details to the block/dowel. Blush the top of the bead and set it aside.

Set that aside to dry.
Next your going to make the beard pieces. I started with a scrap piece of muslin
about 12" long and 5 1/2 inches wide.
Tear the muslin into strips that are 1/2 an inch wide and 5 1/2 inches long.
You are going to need 24 strips total.

Once all your strips are torn, you are going to tie them in bundles. Lay 3 strips down side-by-side and tie a fourth strip around them in the center. You should end up with 6 bundles.
Glue the bundles onto your block/dowel next.

Hold the bundles in half at the center knot and place the glue onto the knot.
Start with the bottom level and glue them in this pattern:
X X
X X X
{You should have 1 bundle left!}
Glue on the round bead in between the top two bundles:
BEAD
X X
X X X

Glue the last bundle on HORIZONTALLY under the nose to make the mustache. Place a little dab of glue on each side of the bead and push the fabric around it.
Trim any weird, out of place looking pieces if needed.

Get your scrap fabric of "Something Christmas-ey" and cut it so that it is long enough to wrap completely around the head and stand up off of the piece 6-7 inches. Run a line of glue around the top of your block/dowel and attach the fabric. Be sure the fabric overlaps in the back!
Turn the piece so that you are looking at the back of it. Open up the hat fabric so that you are looking inside it. Run a big line of glue up the fabric from block to fabric edge.

Quickly fold the fabric back into glue and start pinching it together. Scrunch it good! You are creating the folds in the hat, the more you scrunch the better it looks.
Cut a scrap piece of felt so that it too will wrap all the way around the head and is 1 1/2 inches wide.
Fold the long edges into the center and glue down.

This will be the hat band.
Glue this piece onto the head, starting and finishing in the back, and covering up the hat line.
Add an embellishment to the front, wrap some thread/yarn around the top of the hat, tie to make a hanger, and your Country Santa is ready to go!
Ho, Ho, Ho! Happy Crafting!
3 comments:
that is so adorable, I love it!
I was wondering where you bought the holy trim for his hat? Thank you
Audra
nealeclan@hotmail.com
WOW, what a great little country santa! I love him! I will most definitely try this!! Thanks for a really well-written and detailed tutorial! :) ~Maggie
Post a Comment
I LOVE hearing from you and do my best to respond to your comments and questions. Keep them coming cause they keep me going!