Everyone needs a sweet basket filled with Spring treasures!
Grab a few supplies and you can make your own.
Here's what you'll need:
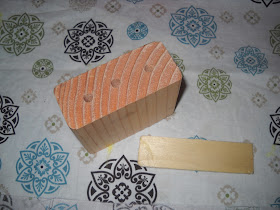
2x4 block cut to 3 inches tall
standard paint stick
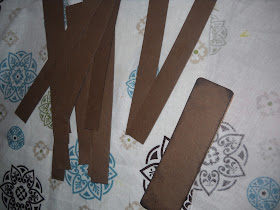
brown cardstock
brown ink
sisal rope
Embellishments/Basket Filler
Standard Supplies:
Scissors
Sand paper
Drill
Glue Gun
Mod Podge
Sand the edges smooth on the block.
Cut the paint stick to 4 inches-I just used my scissors, but cut slowly.
If you plan on adding flowers, drill a few holes into the block to anchor the stems.
Start by gluing 2 strips together forming an "L" shape.
Glue additional strips onto the horizontal piece, alternating front and back...
Weave the remaining strips into the mat alternating rows of "over, under, over, under..."
Secure all the ends into place with glue and then glue the mat onto the block.
Trim away the excess paper and glue the ends down.
Glue the paint stick onto the block.
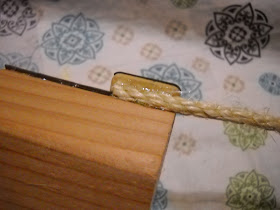
Glue the end of the rope into place behind the lip of the basket topper...
Repeat on other side...
(I doubled the rope on both of my wood baskets but kept it single on the gift bag I made)
Add your fillers, grass, eggs, flowers, etc. and your basket is finished!
Here's a peak at the gift bags I made using this tutorial and the chick one as well...
(the chick will post later today)
Happy Crafting!


3 comments:
SO cute!!! LOVE this! I have some 2x4s sitting in my garage right now... may just have to make one of these this weekend! :)
Kelly
Darling!!!
Thanks for another fun project tut! this is brilliant!
Post a Comment
I LOVE hearing from you and do my best to respond to your comments and questions. Keep them coming cause they keep me going!